Our Build Process, Step by Step: From the First Lot Walk to the Keys
Quick answer: A custom home moves through ten stages: a lot walk and first meeting, design and plans, pricing and contract, financing and permits, site work and foundation, framing, rough-ins, insulation and drywall, finishes, and final inspection and walkthrough. Each stage has its own decisions and inspections, and knowing them ahead of time keeps the build calm and predictable.
Most of the stress in a custom build comes from not knowing what happens next. Here is the whole path, from the first lot walk to the keys.
What are the stages of building a custom home?
Most custom builds follow the same ten stages in the same order.
| Stage | What happens | What you decide | Typical inspections |
|---|---|---|---|
| 1. Lot walk and first meeting | Walk the land; talk about needs, wish list and budget | Whether the lot and builder fit | None |
| 2. Design and plans | Floor plan chosen or drawn and fitted to the lot | Layout, elevations, major features | None; plans go to permit review later |
| 3. Pricing and contract | Specifications and allowances priced; contract signed | Contract type, scope, allowances | None |
| 4. Financing and permits | Construction loan closes; permits applied for | Lender and loan terms | Plan review; septic and well approvals where needed |
| 5. Site work and foundation | Clearing, grading, footings, foundation | Final house placement on the lot | Footing and foundation |
| 6. Framing and roof | Walls, floors, roof, windows and exterior doors | Window and door changes are cheapest now | Framing (after rough-ins) |
| 7. Rough-ins | Plumbing, electrical, HVAC and low-voltage run inside walls | Outlet, lighting and fixture locations | Plumbing, electrical, mechanical and gas rough-in |
| 8. Insulation and drywall | Walls insulated and closed | Last chance to move anything inside walls | Insulation or energy check where required |
| 9. Interior and exterior finishes | Cabinets, counters, trim, tile, paint, flooring, fixtures | Selections installed as chosen | Varies by jurisdiction |
| 10. Final inspection and walkthrough | Final code inspection, punch list, closing | Punch-list items | Final; certificate of occupancy |
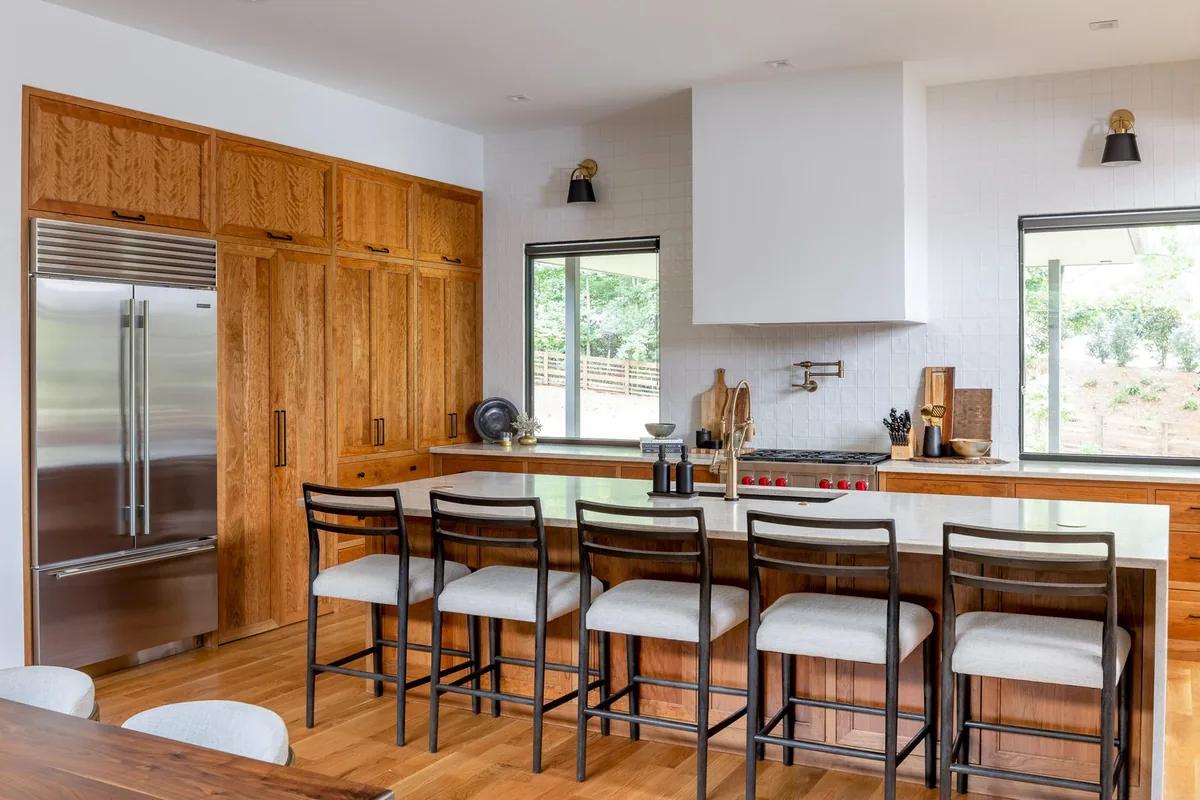
1. Lot walk and first meeting
The process starts on the land. Walking the lot together shows slope, trees, drainage, access and where the house wants to sit, and it gives you time to talk about how you live, what you need and what you want to spend. Nothing is signed at this stage. Our guide to no-pressure lot walks covers what to expect.
2. Design and plans
Next comes the floor plan. Some families start from one of our free floor plans and adjust it; others need a plan drawn from scratch. Either way, the plan is fitted to the lot: the slope, the views, the setbacks and the driveway. You decide the layout, the exterior look and major features such as a basement, a main-floor suite or a bonus room. Expect several rounds of changes. It is far cheaper to move a wall on paper than on site.
3. Pricing and contract
Once the plan is set, the builder prices it against a written list of specifications: what goes into the house, from the foundation type to the windows and roofing. Items you have not chosen yet, such as lighting or tile, are often carried as allowances. You then sign a contract that states the scope, the price structure, the payment schedule and how changes will be handled. Read it closely and ask questions before you sign.
4. Financing and permits
Most custom homes are financed with a construction loan. According to the National Association of Realtors, a construction loan is typically short term and paid out in stages as the work progresses, often with interest-only payments during the build. Our explainer on construction-to-permanent loans goes deeper. At the same time, the builder submits plans for permit review. Depending on the lot, that may also mean septic and well approvals from the county health department before the building permit is issued.
5. Site work and foundation
Construction starts with clearing, grading and staking out the house. Then come the footings and the foundation: a slab, crawl space or basement, depending on the plan and the lot. The foundation inspection is typically the first inspection on the job site, under the International Residential Code's list of required inspections (InterNACHI, on IRC Section R109.1). Georgia now uses the 2024 International Residential Code with Georgia amendments, effective January 1, 2026 (Georgia DCA).
6. Framing and roof
Framing is when the house suddenly looks like a house. Floors, walls and the roof go up, followed by roof covering, windows and exterior doors to "dry in" the structure. This is a good time to walk the house with your builder. Room sizes feel real for the first time, and small changes to windows and doors are still manageable.
7. Rough-ins: plumbing, electrical and HVAC
With the frame up, the trades run everything that will hide inside the walls: water and drain lines, wiring, ductwork, gas lines and low-voltage cabling for internet, security and audio. You confirm where outlets, switches, lights and fixtures go. Under the code, these systems must be inspected and approved before they are covered, and the framing inspection usually follows once the rough-ins are in place.
8. Insulation and drywall
After the rough-ins pass, the walls are insulated and closed with drywall. Once drywall goes up, anything inside the walls is hard to change, so a pre-drywall walkthrough is worth asking for. Georgia's energy code also brings testing: new homes get a blower-door test for air tightness and, unless all ducts sit inside the conditioned space, a duct leakage test, done by a certified verifier, according to the Southface Institute.
9. Interior and exterior finishes
Cabinets, countertops, trim, doors, tile, paint, flooring, plumbing fixtures, lighting, appliances, decks, driveways and landscaping all go in. Most selections should be made well before this stage so materials arrive on time. Our guide to selections without a showroom explains how to keep choices on schedule.
10. Final inspection, walkthrough and keys
The final code inspection happens after all work the code covers is complete, and it must pass before a certificate of occupancy is issued. Then you walk the finished house with your builder and make a punch list of anything to touch up or fix. Once the punch list is handled and the loan closes, you get the keys. Your new-home warranty starts here; our guide to the new-home warranty explains what it typically covers.
How long does the whole process take?
Plan on more than a year from the first meeting to move-in. National Association of Home Builders figures for 2025 put custom-home permit-to-completion at roughly 12 to 14 months, and design and permitting come before that. Weather, lot conditions, selections and change orders all move the date. Our month-by-month build timeline breaks the construction phase down further.
How will you know what is happening during the build?
Ask your builder how they will keep you informed, and get it in writing. Good practice is a regular schedule of updates with photos, a single point of contact and planned walkthroughs at key stages: after framing, before drywall and before final. Our article on weekly job-site photo updates shows what a useful update looks like.
The wrong way vs. the right way to build a custom home
Most build-stage frustrations trace back to a decision made too late.
| The wrong way | The right way |
|---|---|
| Buying the lot before a builder has walked it | Walking the lot with the builder before you buy |
| Signing the contract with most selections still open | Settling the plan and as many selections as you can before signing |
| Making changes after framing, on the fly | Making layout changes on paper, and window and door changes by framing at the latest |
| Seeing the house for the first time at the final walkthrough | Walking it after framing, before drywall and before final |
| Assuming you will hear when something changes | Agreeing on an update schedule and one point of contact in writing |
Advantages of each way to start the plan
Advantages of starting from an existing floor plan
- You see a complete layout from day one and react to something real.
- Design usually moves faster, with fewer rounds of changes.
- A plan that has been built before has fewer unknowns.
- It can still be adjusted and fitted to your lot.
Advantages of a plan drawn from scratch
- Every room is shaped around how your family lives.
- The house can be designed around the lot's slope, views and trees from the start.
- Unusual needs, such as a main-floor suite or a walk-out basement, are built in rather than added.
- Nothing in the plan is there only because it came with the original design.
When to do what
- Before you buy land: walk the lot with your builder to judge slope, access and drainage.
- During design: make layout changes on paper, while they cost the least.
- Before you sign: read the specifications, allowances, payment schedule and change order process.
- During framing: walk the house and make any window or door changes.
- Before drywall: confirm outlet, switch and fixture locations on a pre-drywall walkthrough.
- At the final walkthrough: write the punch list together before closing.
How Ironwood builds
Ironwood Construction Group is a family-owned builder in Sugar Hill, founded in 2008 by Clay Ortiz, who builds with his son Levi. We build custom homes and remodels across Sugar Hill, north Gwinnett and Hall County under Georgia residential-light commercial license RLCO003511. We do not build spec homes, and you talk directly with the builder at every stage, not a sales rep. If you want to walk through the process for your own lot, talk to the builder.
Frequently asked questions about the custom home building process
What is the first step in building a custom home?
Usually a first meeting and a visit to the lot. Seeing the land together lets the builder judge slope, access and drainage, and lets you talk through needs and budget before any plan is drawn.
What inspections happen during a custom home build?
Under the International Residential Code, the main inspections are the foundation, the plumbing, mechanical, gas and electrical rough-ins, framing and a final inspection. Local building officials may add others, such as insulation or energy checks.
When should I make my selections?
As early as you can, ideally before construction starts, because late selections commonly cause delays.
Can I visit the job site during construction?
Ask your builder. Most welcome visits, but job sites are hazardous, so plan visits with the builder rather than walking the site alone.
What happens at the final walkthrough?
You walk the finished home with your builder and list any items to fix or touch up. That punch list is completed before or shortly after closing, and the warranty period then begins.
Sources
- InterNACHI, "From Foundation to Roof: Understanding All Types of Code Inspections (IRC R109)"
- Georgia Department of Community Affairs, "New Codes and Amendments Effective January 1, 2026" memo
- Southface Institute, "Energy Code FAQs," June 2020
- National Association of Realtors, "Consumer Guide: Buying Land and Building a New Home," April 2025
- National Association of Home Builders, Eye on Housing, "Single-Family Home Construction Time Declines in 2025," September 8, 2026